Easy Nailwrap Instructions
Quick & Easy Nail Polish Wrap Guide
How to Apply Nail Polish Nailwraps
Hey Gorgeous! Ready to get those nails party-ready in minutes? Follow these super simple steps to apply your nailwraps like a pro and add some finesse to your fingertips!
What You’ll Need:
- Your favorite nailwraps
- Nail file
- Cuticle pusher (optional, tip: dip into cotton wool and twist the end to create a soft cushion tip for your nails)
- Scissors (optional, for custom fits)
- Base coat (optional as a layer of protection for your nails)
- Clear top coat (optional but recommended for extra shine and durability)
Step-by-Step Guide:
Prep Your Nails:
- Start with clean, dry nails. Give your hands a quick wash and ensure there’s no old polish or oils on your nails.
- Buff your nails lightly to provide a smooth base for your wraps.
- Use your cuticle pusher to gently push the skin from your cuticles back and away from your nails to help your nails grow.
- Apply a base coat (optional).
Choose Your Size:
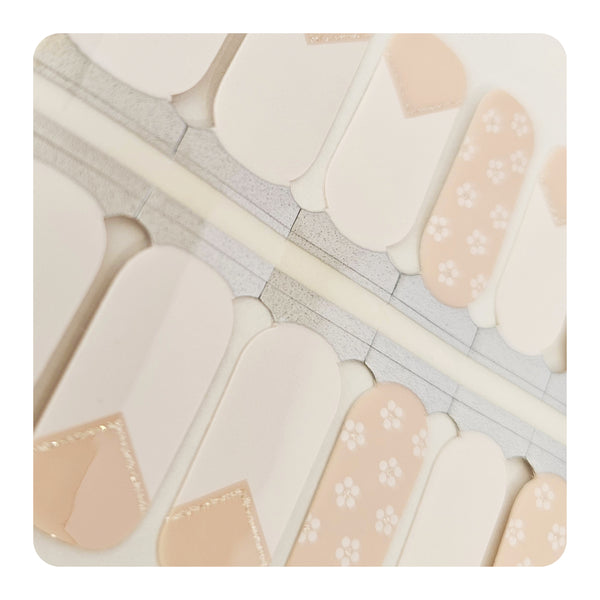
- Select the nailwrap that best fits each nail. If the size isn’t perfect, you can trim the edges with scissors for a custom fit.
Apply:
- Peel the nailwrap off the backing paper. Place it carefully on your nail, starting at the cuticle. Smooth it out towards the edges to avoid any bubbles or wrinkles.
- Press down firmly on the wrap to make sure it adheres well to the nail. Use your fingertips or a soft cloth to smooth it out.
File Away Excess:
- Fold the excess wrap over the tip of your nail and gently file off the excess in a downward motion.
Seal the Deal:
- For extra staying power and shine, apply a clear top coat over the nailwrap. This step is optional but recommended for best results.
Tips for Flawless Application:
- Make sure your nails are completely dry before applying the wraps.
- Avoid touching the sticky side of the wrap too much, as oils from your skin can affect the adhesion.
- If you make a mistake, no worries! Gently peel the wrap off, realign, and reapply.
- Keep your hands dry and avoid water for about an hour after application to ensure the wraps set properly.
There you go, Gorgeous! You’re all set to dazzle with your stunning, fuss-free nailwraps. Whether it’s a dinner date or a night out with the girls, your nails are now ready to make a statement. Enjoy the party!
How to Remove Nailwraps
Hey Gorgeous! Ready to switch up your nail game or just give your nails a little breather? Removing nailwraps is just as easy as applying them. Here's your foolproof guide to removing nailwraps gently and effectively, keeping your nails looking healthy and beautiful!
What You’ll Need:
- Nail polish remover (preferably acetone-free)
- Warm flannel (optional, for tougher wraps)
- Cuticle pusher (optional, tip: dip into cotton wool and twist the end to create a soft cushion tip for your nails)
- Moisturizing hand cream or cuticle oil
Step-by-Step Guide:
Remove nailwraps:
- Gently lift the edge of the nailwrap using the cuticle pusher and peel the nailwrap off. Be careful not to scratch the surface of your nail.
- You may opt for some self-care and soak your hands in a warm soak infused with your favourite oil and fragrance to make lifting the nailwraps easier.
- A warm flannel wrap may assist in making removal easier if you're not fussed on soaking.
Clean Up:
- Once the wrap is off, use a fresh cotton ball soaked in nail polish remover to clean any leftover adhesive off your nails.
- File and shape your nails.
Nourish Your Nails:
After removing the nailwraps, apply your favourite moisturising hand cream and some cuticle oil if you use it, to replenish moisture and keep your nails and cuticles healthy.
Tips for Easy Removal:
- Be patient and gentle during the removal process to avoid damaging your natural nails.
- Regularly moisturising your nails when you’re not wearing wraps can keep them strong and healthy, making both application and removal processes smoother.
And there you have it, Gorgeous! Your nails are now wrap-free and ready for their next stunning look. Whether you're giving them a little break or prepping them for another set of fabulous wraps, they’re sure to keep turning heads!
