


I really like how quick and easy it is to apply the wraps and how fast the delivery was. I enjoy having numerous options for change whenever I feel like a change. I appreciated the professional and friendly contact, and I love supporting small businesses.
Owww Serena ... best product of the year?! You're making us blush! We're SO thrilled you're loving the quick glam-up and speedy delivery (because who has time to wait when the nails are calling, right?). Having a stash of styles ready for any mood swing or outfit moment is the ultimate flex, and we’re here for it! Big hugs for supporting our small biz - it means the world to us. Here's to more wraps, more sparkle, and more fun every time you feel like switching things up!
I was looking to try out nail wraps and your sale prices made me buy now !
Fast effientient free delivery over 35 nz !
And so far love them and your service . I am sure to repurchase more ( so good ) ✨️
Hello Nicola, we are so glad you took the plunge and welcome to the world of nailwrap magic! Snaps for spotting that fab sale (because who can resist a cheeky bargain, right?) and yay for fast, free delivery making it all even sweeter. We’re over the moon to hear you’re loving your wraps and vibing with our service - seriously, that means the world! Can’t wait to see you back for more sparkle - your nails are gonna be living their best life!
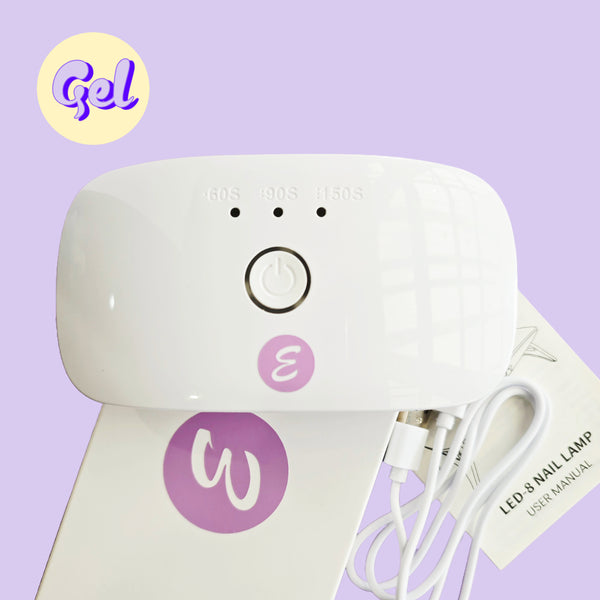
I'm very impressed with the nails, they last for weeks. I've got a lot of compliments and asked where do I get my nails done. When I say they're nail wraps, people are impressed. I've said that I put them on just before I get into bed so I'm not putting my hands in water or anything until they're well set. Also pressing around the nails to firm them on
Thank you so much for your gorgeous review! We’re over the moon to hear your nails are lasting weeks and getting all the compliments like we do - love that for you! ✨ Your bedtime tip is spot on too - letting them set before hands hit the water keeps those wraps looking flawless. Keep shining, Gorgeous, and we can’t wait to wrap your nails in more styles you’ll love
Deb
The EzyNails Crew