



Hey Gorgeous! 💅
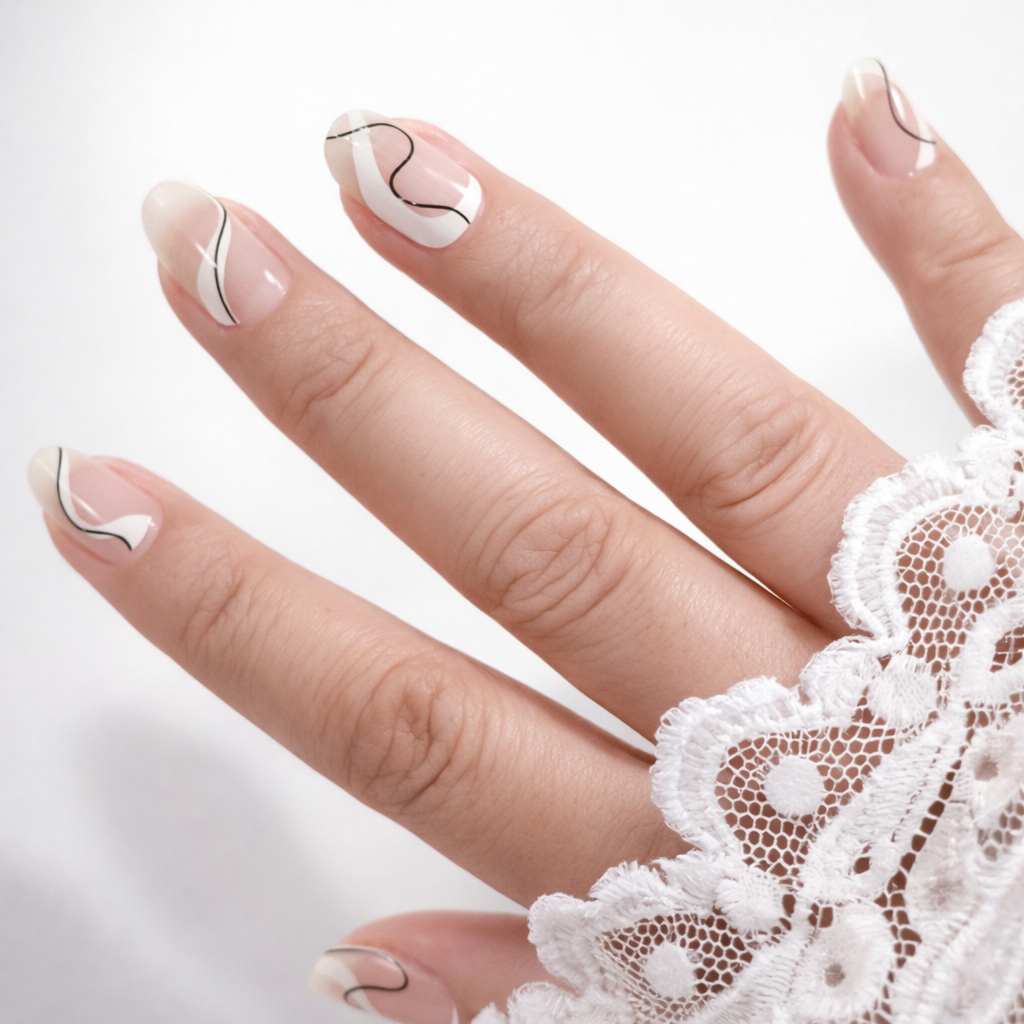
You've had a gorgeous run with your gel nailwraps. Two weeks of glossy, chip-free nails, a few compliments at the supermarket checkout, maybe a nailfie or two. Now they're ready to come off, and a little voice is asking: do I need to book a salon for this?
Good news. You don't. Learning how to remove gel nail wraps at home is easy, it's kind to your natural nails, and it takes less time than finding a park outside the salon. Here's exactly how to do it.
Why you don't need a salon to remove gel nail wraps
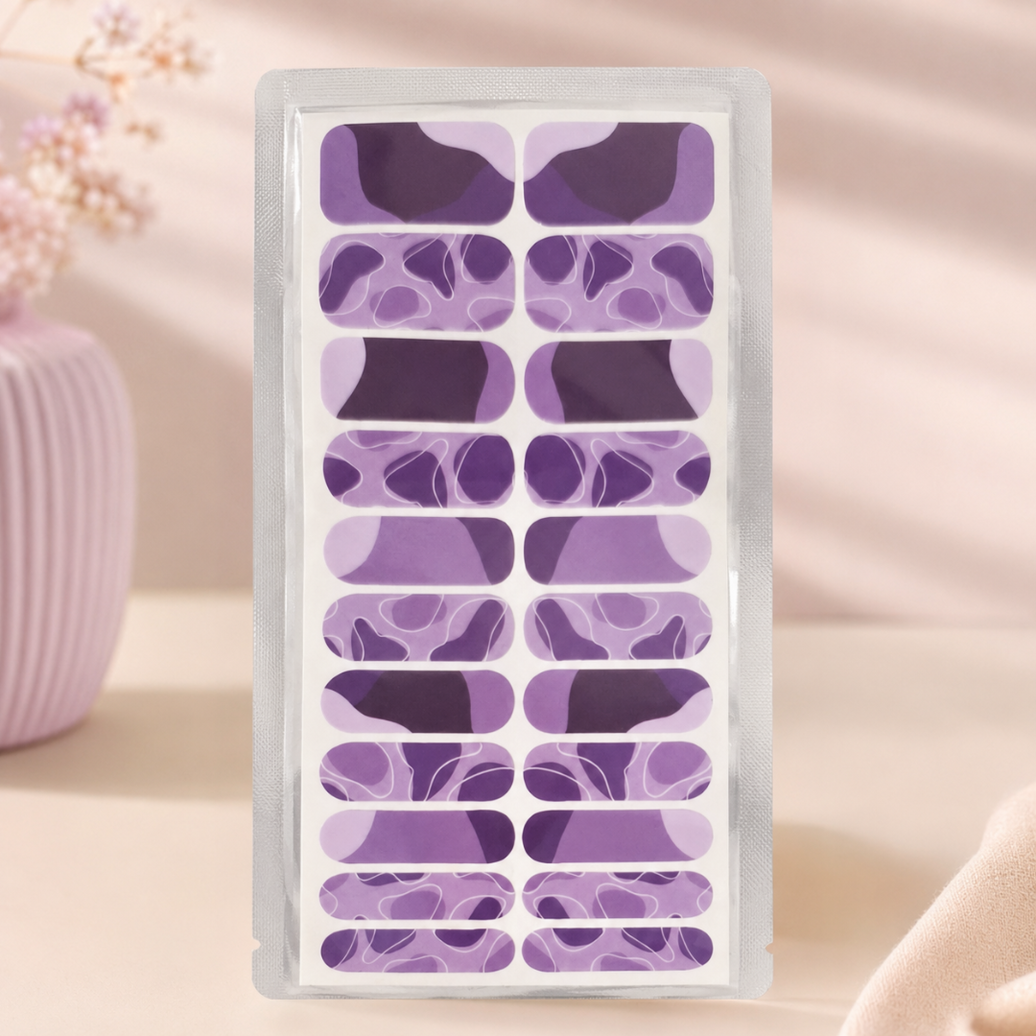
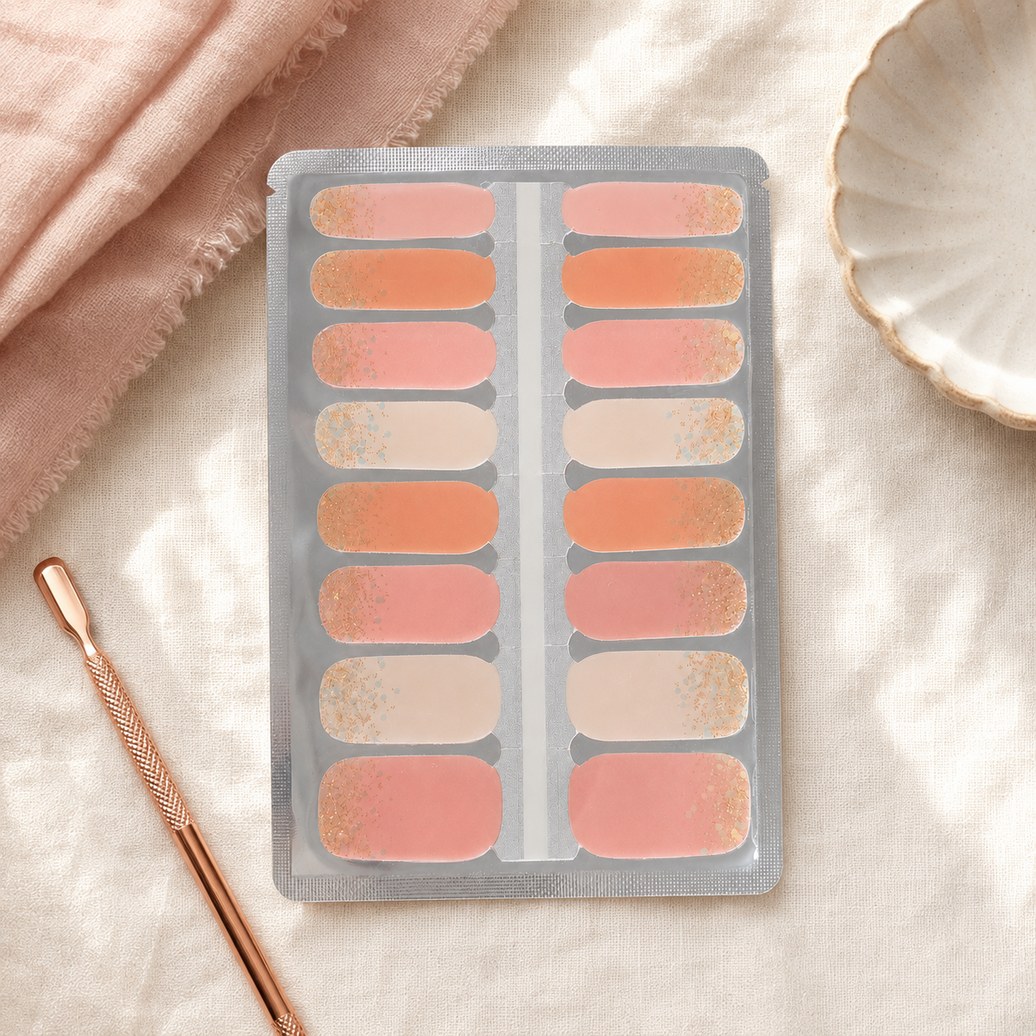
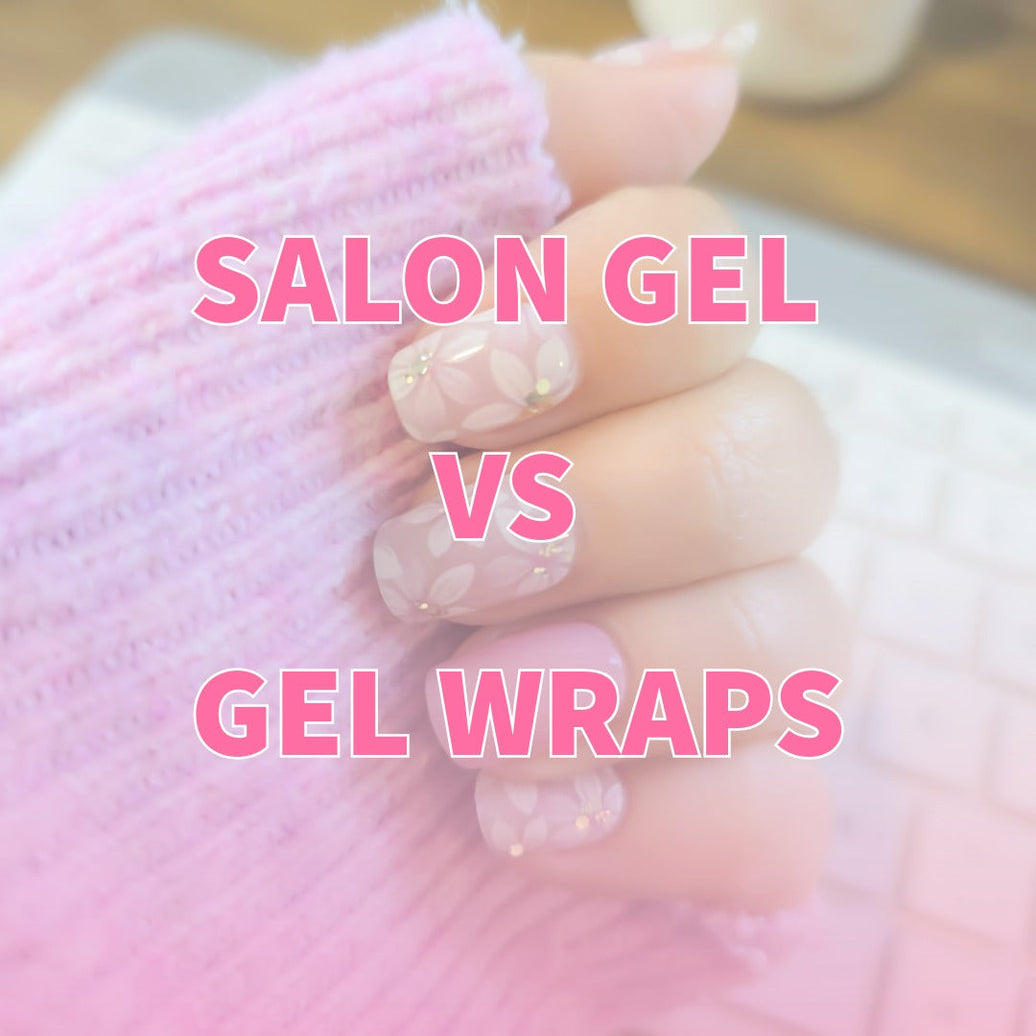
Traditional gel polish is painted on in layers and built up, which is why it often needs filing, foils and a long soak to get off. Gel nailwraps go on as a single wrap instead, so there's no thick build-up to file through. Once you loosen the edge, they're ready to come away.
That means no drill, no heavy filing and no booking. Just a few things you've probably already got in the bathroom cupboard.
What you'll need
- Nail polish remover (for method one)
- Cuticle oil, or a nourishing oil like olive, coconut or almond (for method two, and for aftercare)
- A small bowl
- A plastic cuticle tip or pusher. Our Plastic Cuticle Pusher is made for this
- A soft towel and a little patience
Method one: our no-damage remover and cuticle tip method
This is our go-to. It's quick, tidy and gentle on your natural nail, because you're never forcing the wrap off.
Step 1: Dip in remover
Pour a little nail polish remover into a small bowl and dip your fingertip in so the remover covers the edge of the wrap. Give it a moment to start working its way in around the edges.
Step 2: Lift the edge slightly
Using your plastic cuticle tip, gently lift a tiny bit of the wrap at the edge. You're not prying it off, just creating a small gap so the remover can get underneath.
Step 3: Slide back and forth
Slide the cuticle tip gently back and forth under the wrap, dipping back into the remover as you go. The wrap will loosen and slide off the nail. If it resists, dip again and give it a few more seconds. No forcing, no scraping.
Step 4: Clean up and nourish
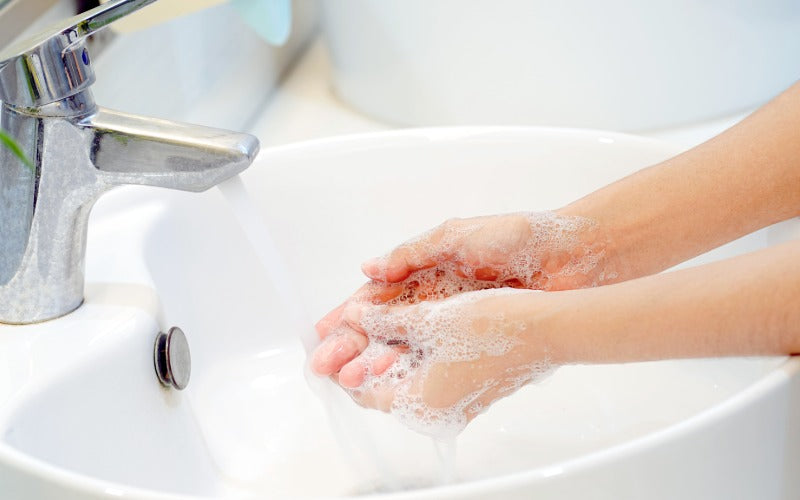
Wash your hands, then massage a drop of cuticle oil into each nail and cuticle. Remover can be a bit drying, so this little step keeps your nails happy and ready for the next set.
Why plastic? A plastic tip is firm enough to do the job but soft enough that it won't scratch or gouge your nail the way a metal tool can. It's a small detail that makes a big difference to how your nails look and feel afterwards.
Method two: the oil soak
Prefer to skip the remover altogether? An oil soak works beautifully too, and it doubles as a mini hand treatment.
- Warm a little oil so it's comfortably warm, not hot.
- Soak your fingertips for a few minutes, letting the oil seep in around the edges of the wraps.
- Gently nudge the edge of each wrap with your plastic cuticle tip. Once the oil has done its work, the wrap should ease away.
- Not budging? Soak a little longer. Patience is the secret ingredient here.
- Massage the leftover oil into your hands and cuticles. Bonus spa moment, no booking required.
The oil soak is a lovely option if your nails are on the drier side, or if you'd like to make a little ritual of it with a cuppa and your favourite show.
The golden rule: never peel
We know it's tempting. You spot a lifted corner and your fingers start itching. But peeling a wrap off dry can take the top layers of your natural nail with it, leaving them thin, rough and prone to splitting. Whichever method you choose, the rule is the same: remove gently with remover or oil, never peel.
It's also why we recommend wearing your gel nailwraps for up to 14 days. That's the sweet spot for a fresh-looking mani, and it means your natural nails get a regular check-in between sets.
Quick troubleshooting
The wrap is stubborn in one spot. Dip or soak again and wait a little longer. Remover and oil both need a moment to get underneath.
There's a bit of residue left. A swipe of remover on a cotton pad will take care of it. Follow up with oil.
My nails feel dry afterwards. Totally normal after remover. Oil them daily for a couple of days and they'll be back to happy.
Can I go straight into a new set? Absolutely. Just make sure your nails are clean, dry and oil-free before you apply, otherwise your new wraps won't grip as well. A quick wash and a light buff with your Prep & Perfect file sorts that out.
So, do you need a salon to remove gel nail wraps?
Nope. With a little remover or oil and a plastic cuticle tip, removing gel nail wraps at home is quick, easy and gentle on your nails. No appointments, no drill, no drama. That's the beauty of nails your way: you're in charge from the first wrap to the final removal.
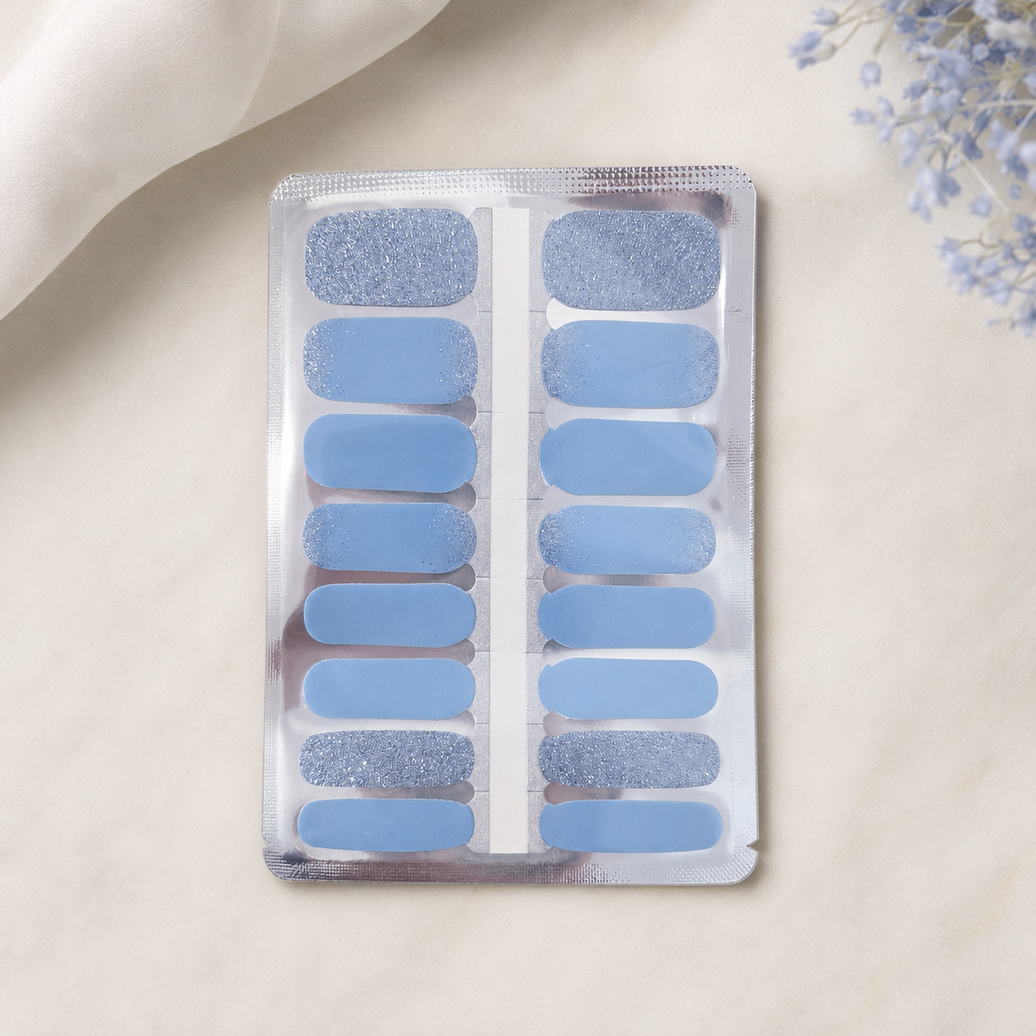
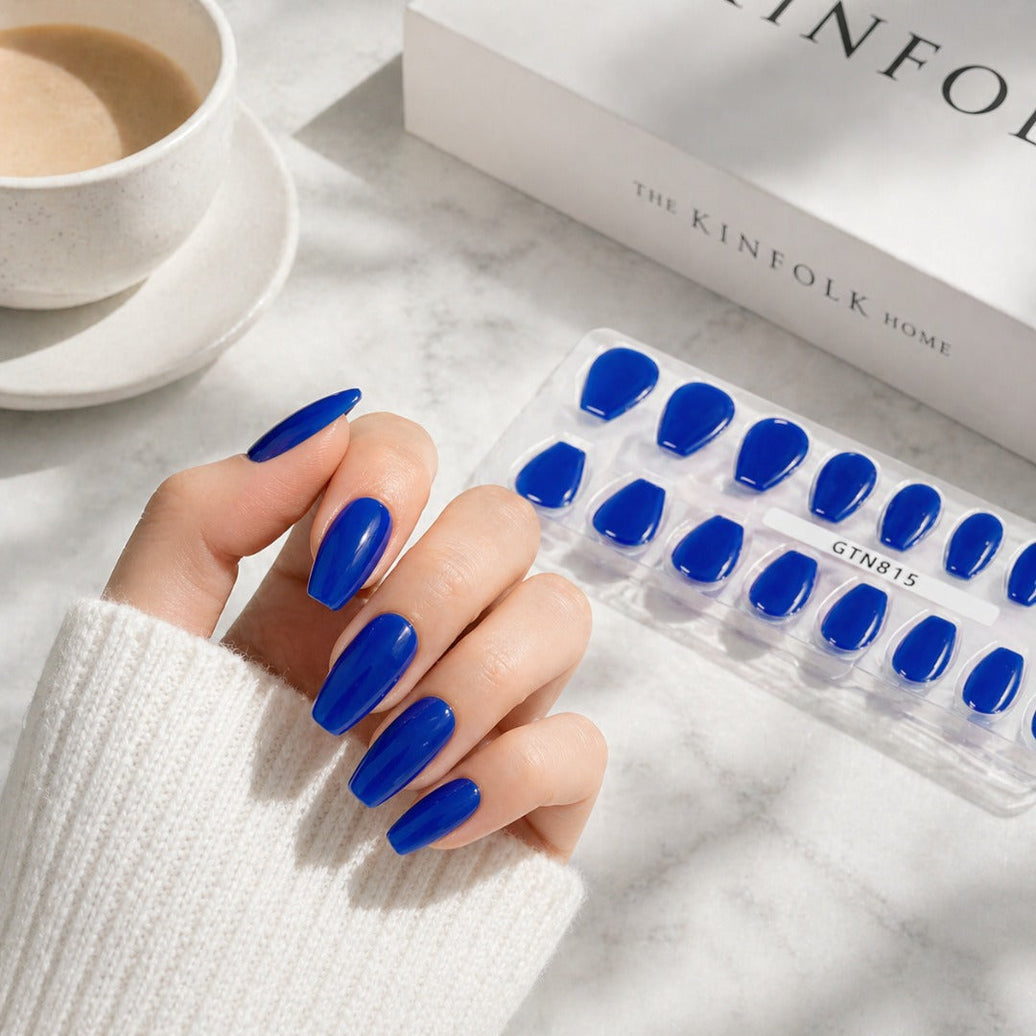
Ready for your next set? Browse our gel nailwraps, and don't forget to share your nailfie with us for a chance to win in our monthly giveaway.
Happy wrapping, Gorgeous! 💅💖
The EZYNails Team


















Leave a comment